Last Bridge Standing Best Bridge Design & Test Method
Build, stress-test, and iterate spans that outlast the lobby.
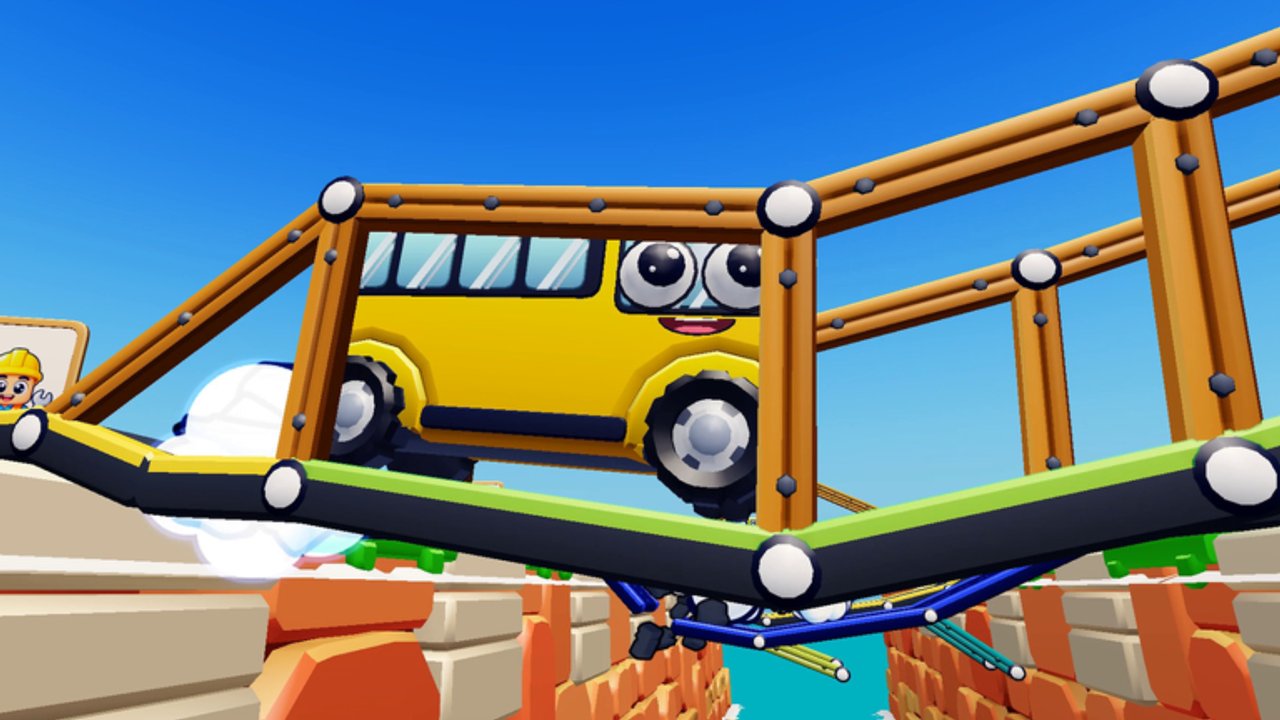
Chasing the best bridge design in Last Bridge Standing means learning a repeatable test method—not memorizing one viral screenshot. Multiplayer gives you roughly 75 seconds. Solo levels remove the clock across 33 stages. In both modes, heavier toy trucks punish weak mid-spans, dishonest anchors, and missing road. This guide shows how to prototype, measure, and lock a default build you can trust.
Design principles that actually matter
- Load path to ground — Every flashy piece should push force into piers or abutments that touch solid support.
- Continuous deck — Trucks need road. Gaps turn “almost done” into instant failure.
- Mid-span respect — Most collapses start where bending is highest; reinforce the middle before decorating the ends.
- Budget realism — Early accounts and low Bigger Budget stacks cannot copy endgame steel cathedrals.
- Chaos margin — Weekend events (UFO, dinosaur, disco bus) reward spare capacity. See worlds & Chaos Hour.
Cross-check material roles on the materials tier list and pattern names on build styles.
The five-run test method
Use solo (no timer) or a quiet lobby habit:
Run A — Baseline simple span
Place the fewest piers that keep segments short. Road on top. No cables. Note where it bends or snaps.
Run B — Add steel to the failure point only
Do not rebuild the entire bridge. Upgrade the exact weak bay. If survival jumps, you found the real bottleneck.
Run C — Cable assist with honest anchors
Add cables only to pieces that already carry load. If cables attach to decorative fluff, they become force multipliers for failure.
Run D — Timer simulation
Repeat your best design with a mental or phone 75-second countdown. Anything you cannot finish under pressure is not your multiplayer main.
Run E — Chaos imagination
Ask: “If something heavy bonks the mid-span, do I have a second pier?” If no, add redundancy or accept the risk.
Record winners in a simple note: style name, materials mix, and one failure mode to watch. That notebook beats random YouTube copying.
Material mix recipes (flexible, not dogma)
| Goal | Suggested mix | Caution |
|---|---|---|
| Learning | Wood piers + road | May fail late heavy trucks |
| Default ranked | Steel primary + road + light cable | Needs practice speed |
| Budget crisis | Wood structure + selective steel patches | Patch early, not at second 70 |
| Long gap | Steel + cable assist + road | Anchors must be real |
| Chaos weekend | Slightly overbuilt piers | Do not skip deck continuity |
Never treat these as absolute multipliers. We refuse fake “steel = 4.2× wood” charts. Watch trucks; trust outcomes.
Styles worth practicing
- Simple supported span — Best beginner main. Short bays, clear piers.
- Reinforced mid-span / truss thinking — Stronger once you can place quickly.
- Cable-assisted hybrid — Excellent finisher, terrible opener if you cable first.
- Monument build — Fun for clips; often loses to unfinished decks in ranked lobbies.
More ranking commentary sits on the build styles page. For lobby tactics layered on top of design, read win strategies.
Economy link: why Bigger Budget changes design
Season 1 Castle Quest (through 7 December 2026) pushes Bigger Budget upgrades toward +50% money per bridge. More money means you can afford steel earlier and keep a patch reserve. Until those upgrades land, choose designs that finish cheaply. Guide: upgrades & budget.
Controls and speed
A perfect theory build dies if you mis-select pieces. Skim controls for PC and mobile tips: camera discipline, piece swapping, and not fighting the UI at second 50. Speed is part of design.
Failure autopsy checklist
When you collapse, ask in order:
- Was the road continuous?
- Did mid-span have support or only decoration?
- Did cables pull on weak anchors?
- Did I run out of time mid-patch?
- Did chaos hit a known soft bay?
Then reopen the bridge checklist before the next queue. Pair with Getting Started if fundamentals still feel shaky, or campaign solo to practice the autopsy without lobby chat.
What “best” means on this wiki
The best bridge is the one you can finish, that survives the trucks you actually face, with the budget you own today. Viral overbuilds are entertainment. Your main should be boring, fast, and tested.
Keep iterating with the five-run method after every major update. Physics vibes can shift; your notebook keeps you honest.
Frequently Asked Questions
Quick answers to the most common questions.
Is there one best bridge for every map?
No. Use a tested default, then adapt pier count and materials to gap length, budget, and chaos risk.
Should I copy designs from videos exactly?
Use videos for ideas, then run the five-run test under a 75-second constraint. Unfinished copies lose.
When should I add cables?
After solid anchors and a basic deck exist. Cables amplify whatever they attach to—good or bad.
How does Season budget affect design?
Bigger Budget upgrades let you field more steel and keep patch reserves. Until then, favor finishable mixes.
Where do I practice without a timer?
The 33-level solo campaign. Rebuild the same failure point until trucks stop winning.